CREATE A CONNECTOR

Create a connector

In the BO, click on “Connectors”. A list of connectors appears:

Add a connector

Click on the “Add Connector” button:

List of information to be entered :
  • Title: connector name
  • Type : format of the data that will be recovered, by default this format will be JSON type.
  • On (Y/N)
  • Called by: Default “Server
  • Cache: Default “Cache”
  • Method: data recovery method, default “GET”.
  • Url: Url that will allow to recover a set of data. For example, all articles created in WordPress will be retrieved by this Url: http://support.shapper.com/wp-json/wp/v2/posts/.

Test the Webservice

At this stage, it is necessary to test if the information entered is correct, to do this click on the button “Test the webservice”, it appears under this button :
If in the dark frame it is written “No route was found etc…” as above, it means that the query sent is not correct. Check if the URL is written correctly.
If it works, it will then appear in the dark box with the numbers “0”, “1” etc., as below :
In the field “Mapper tree” instead of “End” select the line “0” :
Here is what should appear in the dark frame: In the field “Mapper tree” instead of “End” choose the line “0” :
For your information, we have not yet used our parameters (categories, labels etc…) which will allow us to filter only the data we are interested in. In our example, there are 2 items: information that are just above the dark frame “Items: 1/2”. And the first one is displayed on the screen. To view another item it is possible to use one of the 2 buttons at the top of the frame “Previous” or “Next”.
A little further down in this dark frame there are the lines “Categories” and “tags” (tags for labels). It is thus thanks to these lines that we will be able to filter the elements :

By clicking for example on the line “categories” the 2 lines “0: 46” and “1: 48” appear in the sub-menu. These 2 values (ID) correspond to the information entered in this element: “News” and “Cultural”.

Tip: to really know what these 2 values correspond to, you have to go to WordPress on the menu “Articles” then “categories”. Position the mouse on the name of the category, and a line will appear at the very bottom of the screen with information where is written: ID=…

In our example, if you put the mouse on “News” it will appear ID=46 and on “Culture” ID=48.

In “Articles” and then “Labels”, if you put the mouse on “Book”, ID=50 will appear.

We are now going to set up the filter parameters: in the BO, click on the “Add a parameter” button, and a “Key” and “Value” line will appear.

For our example, we will filter via the subcategory “Cultural”: so “Key” = “Categories” and “Value” = “48” (which corresponds to “Cultural”). If you then click on “Test the webservice”, you can see that only one element remains (above the dark frame).

If needed, it is possible to add as many parameters as necessary to filter the right elements correctly.

Choosing and setting up the information for each element

Once you have agreed on the selected elements, you must choose to set up the desired fields.

By default, a retrieved element will be installed in the application in a “Page” type element.

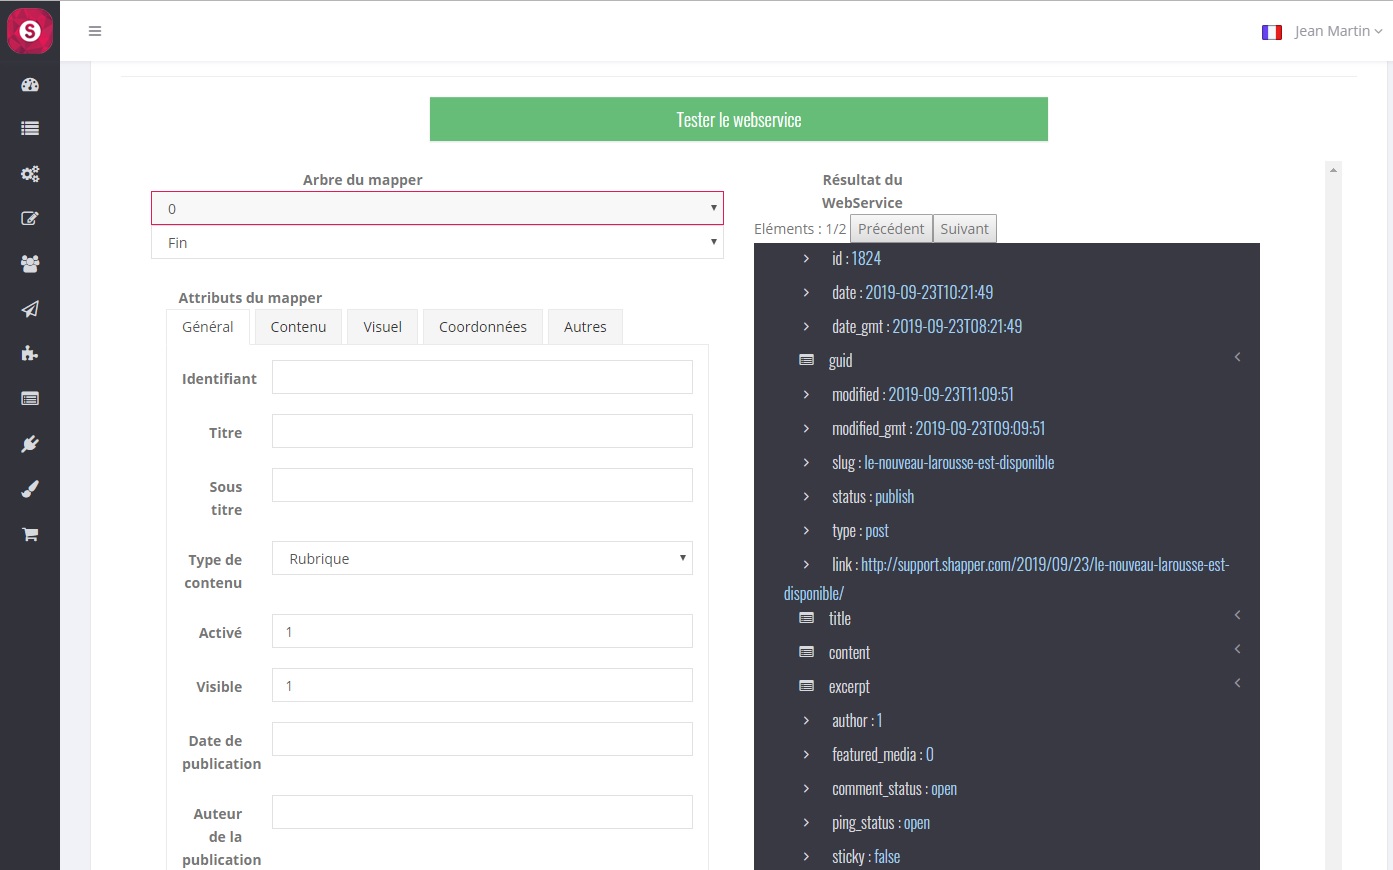
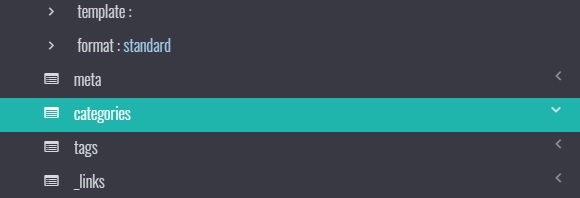
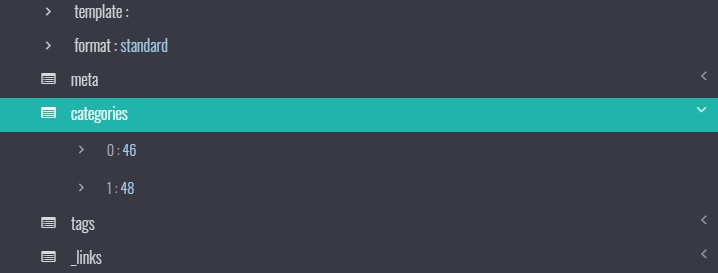
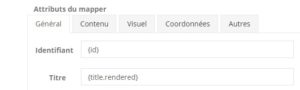
Everything is done by mouse click. To the left of the dark frame, there is the set of 5 tabs that form the information of an element of the application (with in addition a first value named: “Identifier”).

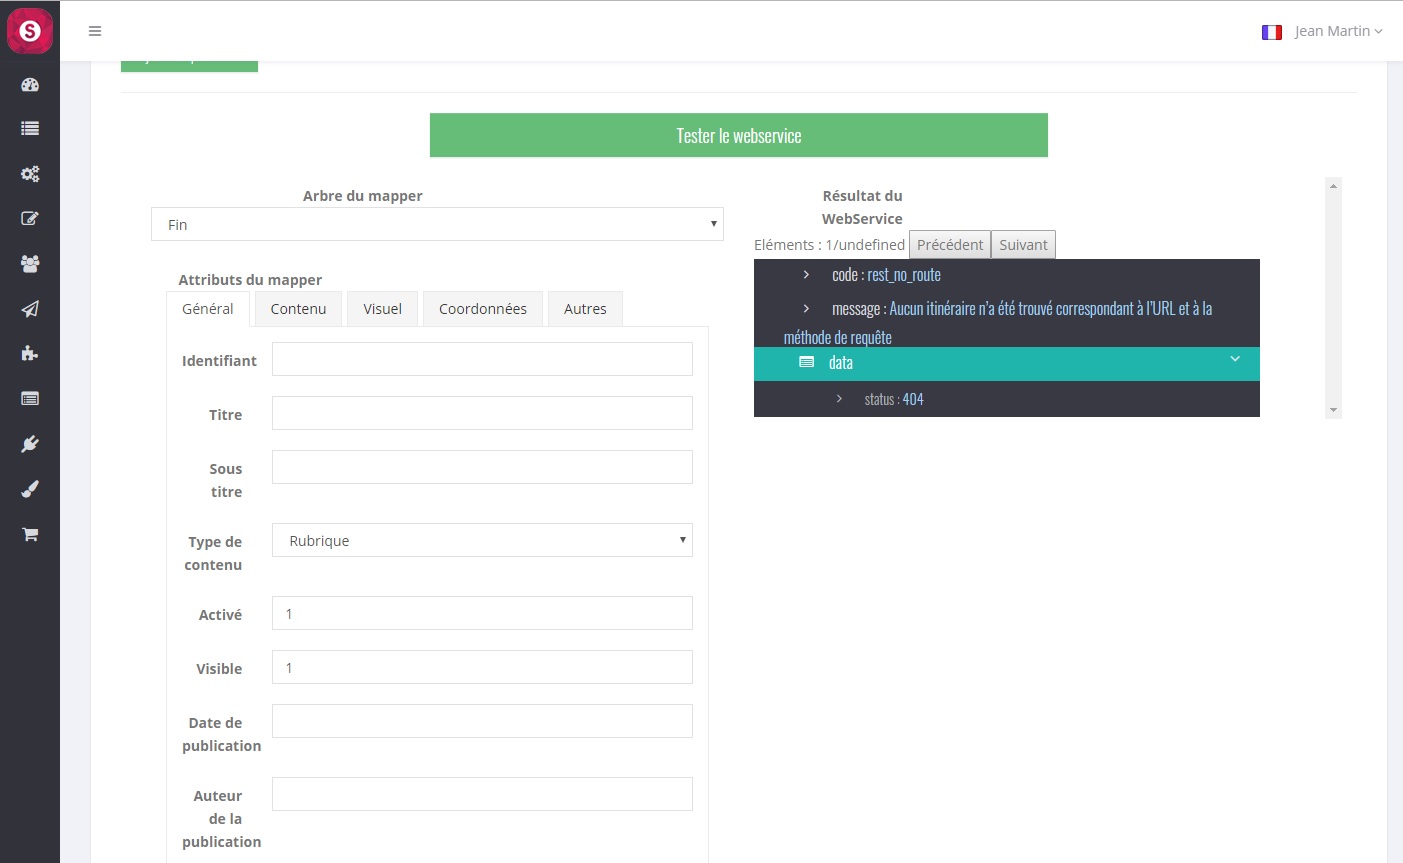
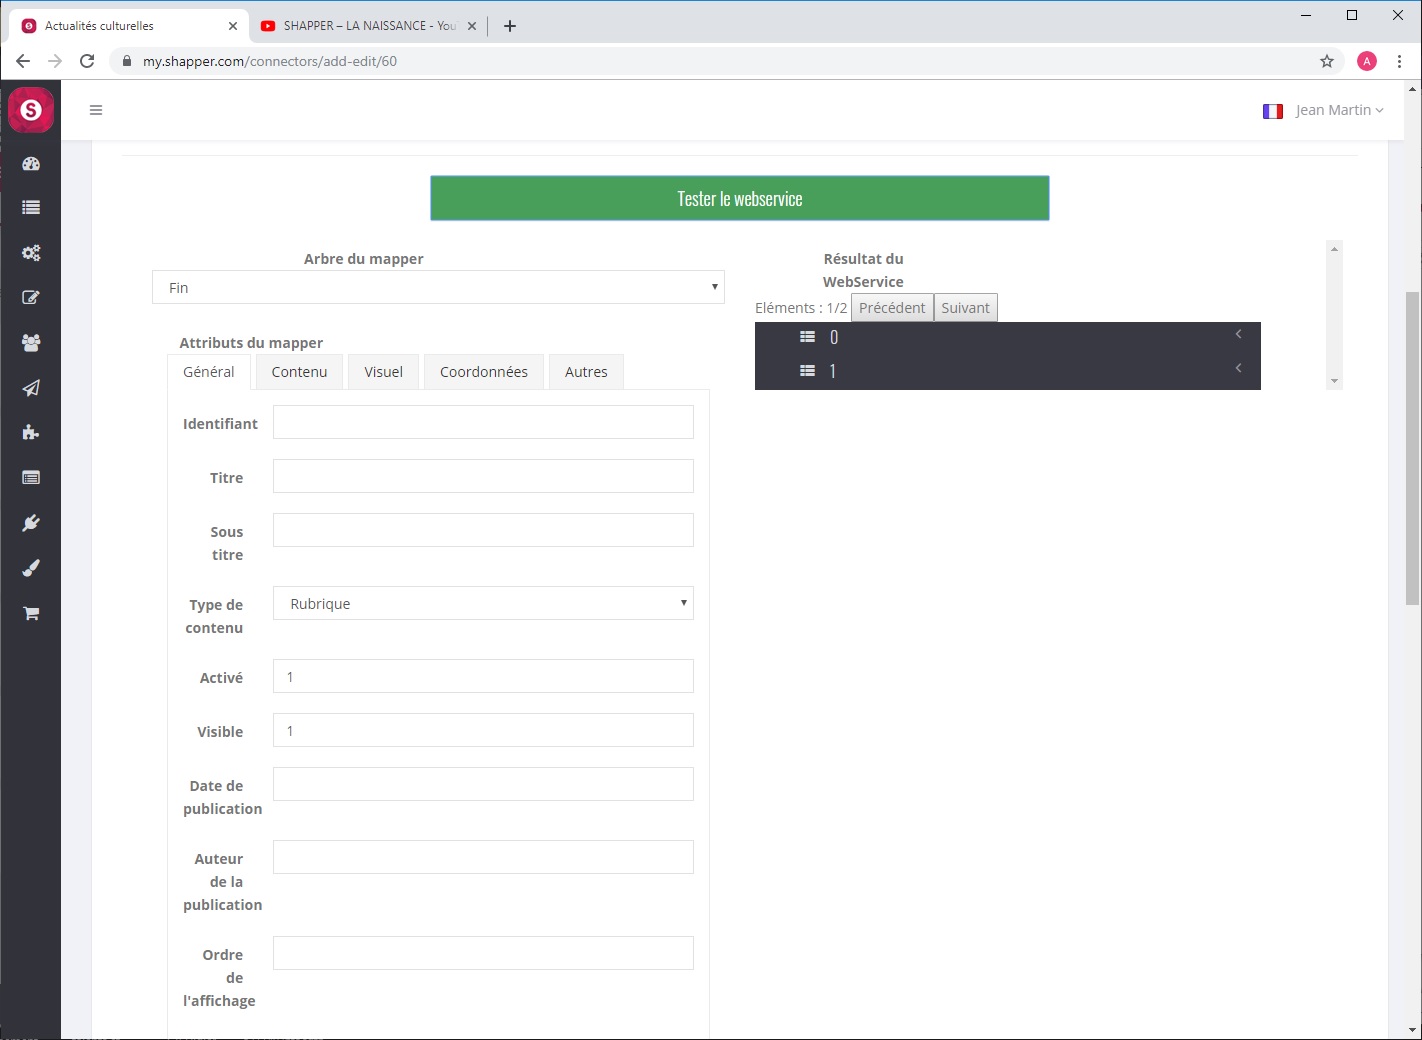
Make sure that in the field “Mapper tree” there is “0”.

Manip to do to get the “id” info:

  • Click on the input field “Identifier” (the cursor blinks)
  • In the dark frame click (one click only) on the first field “id”: you will see {id} in the input field “ID”. Caution: a double click will make {id} appear twice, if this is the case you can manually delete the extra info.


These actions are to be repeated as many times as necessary in the desired fields.
Another example is the title :
In general the “Title” retrieves the info of “Title”, to make it work you must first click on the field “Title” on the left to focus on it then in the dark frame click on “Title” to bring up the sub-menu which starts with the word “rendered”. Thus, by clicking on this rendered line, it will appear on the left part of the “Title” line: {title.rendered} (which means: in the sub-menu of “Title” the info that is in the “rendered” field.
 
It is possible to put the same retrieved information in several different places. For example, in the “Content” tab, we want to recall the “Title” ({title.rendered}) followed also by other fields: just leave the focus of the mouse in the right place, that is to say to the right of {title.rendered}. (with a space not to paste the 2 retrieved information) and go select the other information to retrieve.
It is also possible to enter in “hard” an information in the content for example:
Name of the event: {title.rendered} … in this case “Name of the event: ” will always be written in each content of the element “page” before the real title retrieved.
 
For the recovery of an image : it is generally in the form of a url (https://www…)
 
The body of the event (text + images) is generally found in {content.rendered}, i.e. the info that is in the “rendered” of the “content” sub-menu. You must therefore put this information in the description of the content of the “Page” element.

Tip for dates

Use the function below to convert your dates if needed:
FUNCTION(DATE[d/m/Y,{date}]) or {date} is your date field to convert to English format.
Cette page en PDF :